Sunday, February 26, 2012

The Fascinating History of the Dahlia


Dahlia I by Caroline Kelly

Do you love dahlias as much as I do?  The incredible variety of size, shape and coloration in today’s dahlias results from a fascinating history of cultivation. 

A few years ago I became so obsessed with the dahlias (which I am fundamentally unable to grow) that I spent some time researching its history.  So get a cup of tea and join me on a winding, colorful walk through the garden of the past.  

black_red_dahlia.jpg Dahlia image by tonisara1

 DAHLIA1.jpg Dahlia image by jblumsdon

   DSC06190.jpg sunlight on dahlia image by janmellon

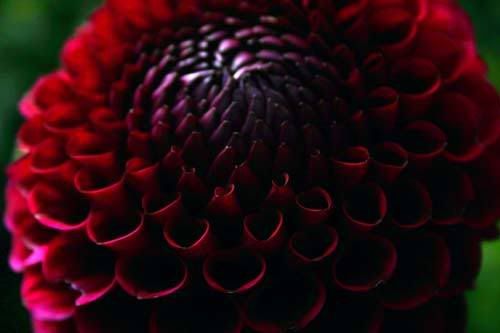
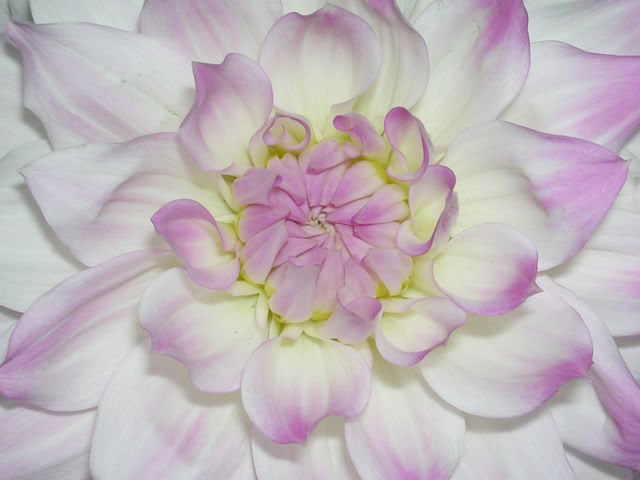
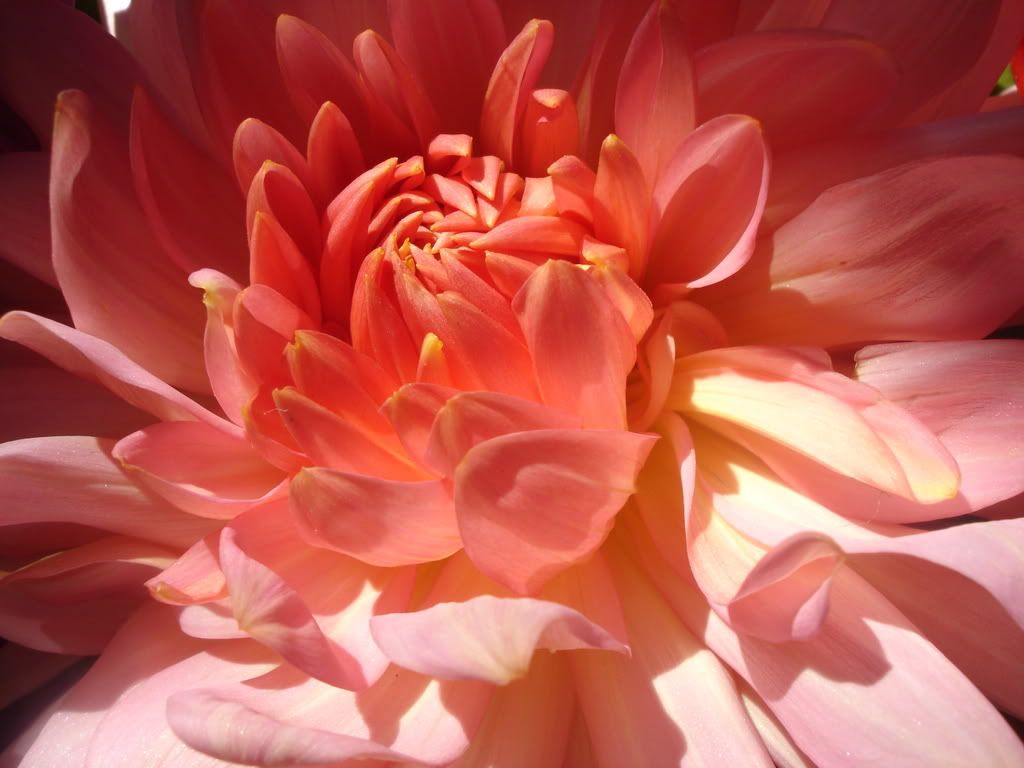
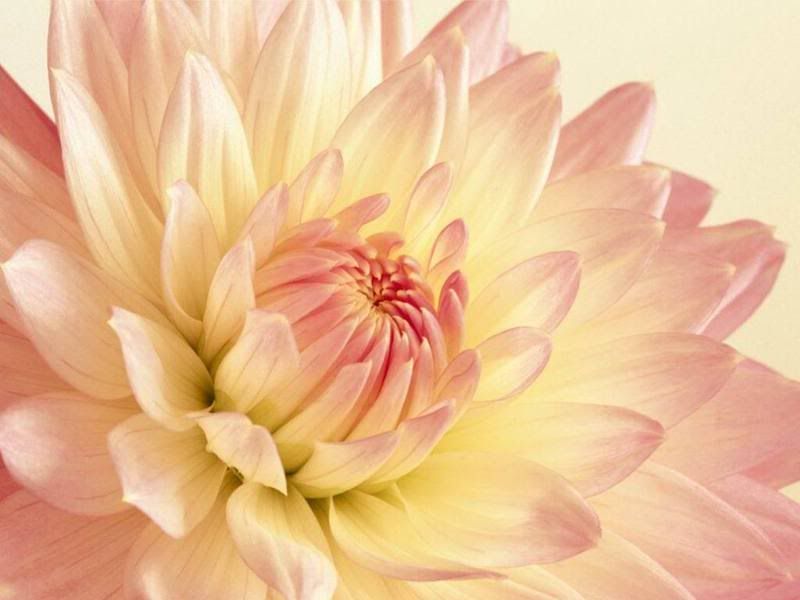
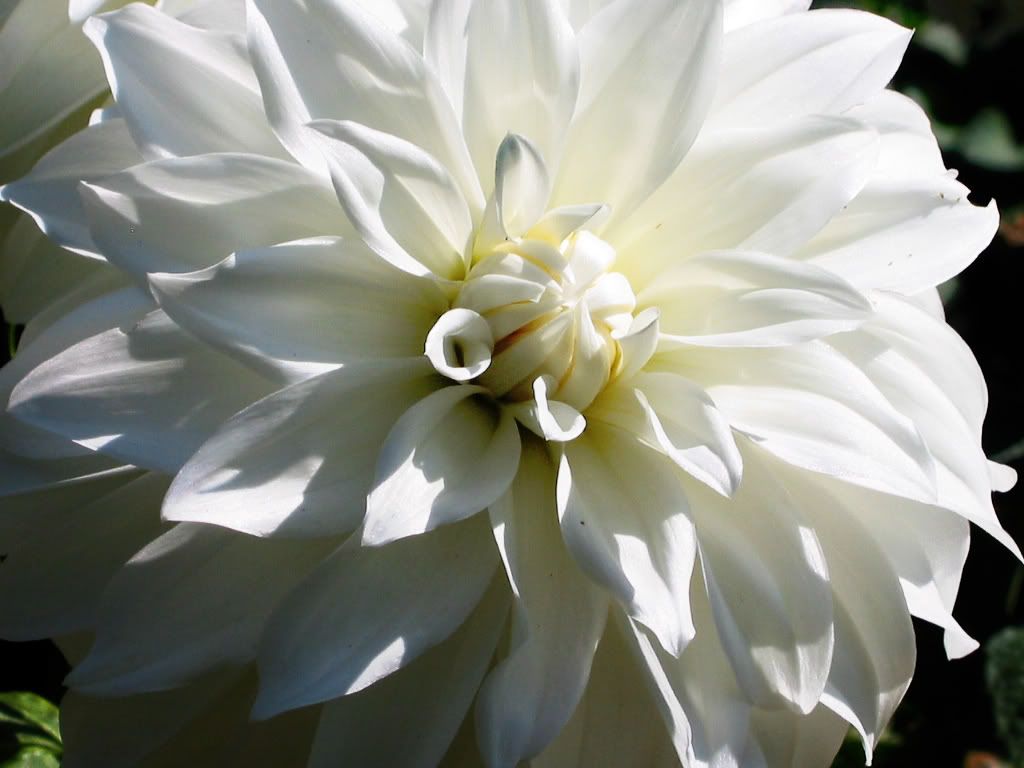
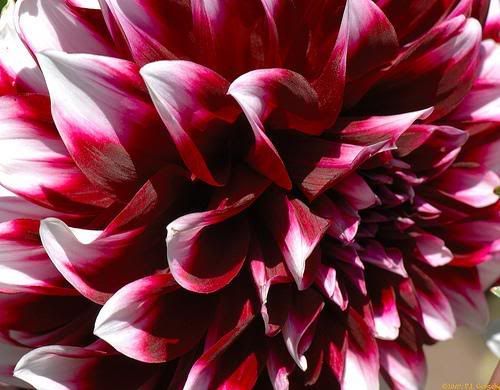
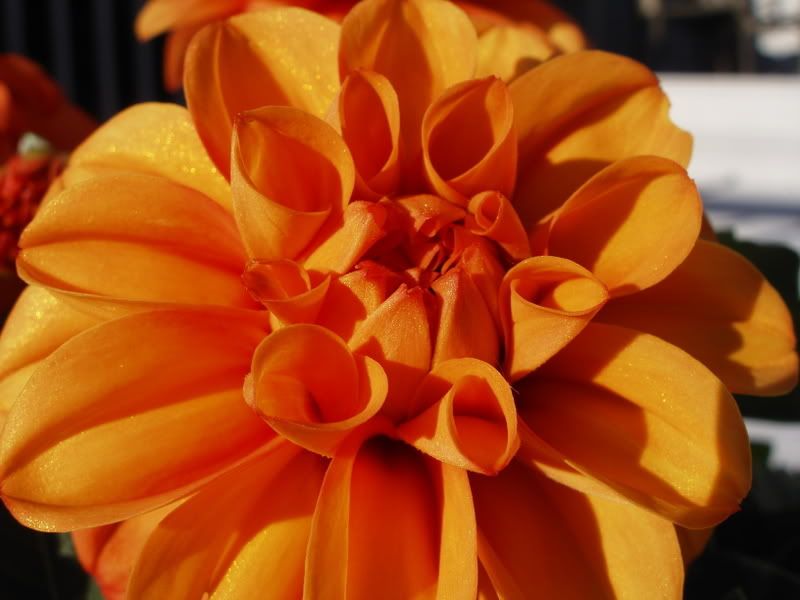
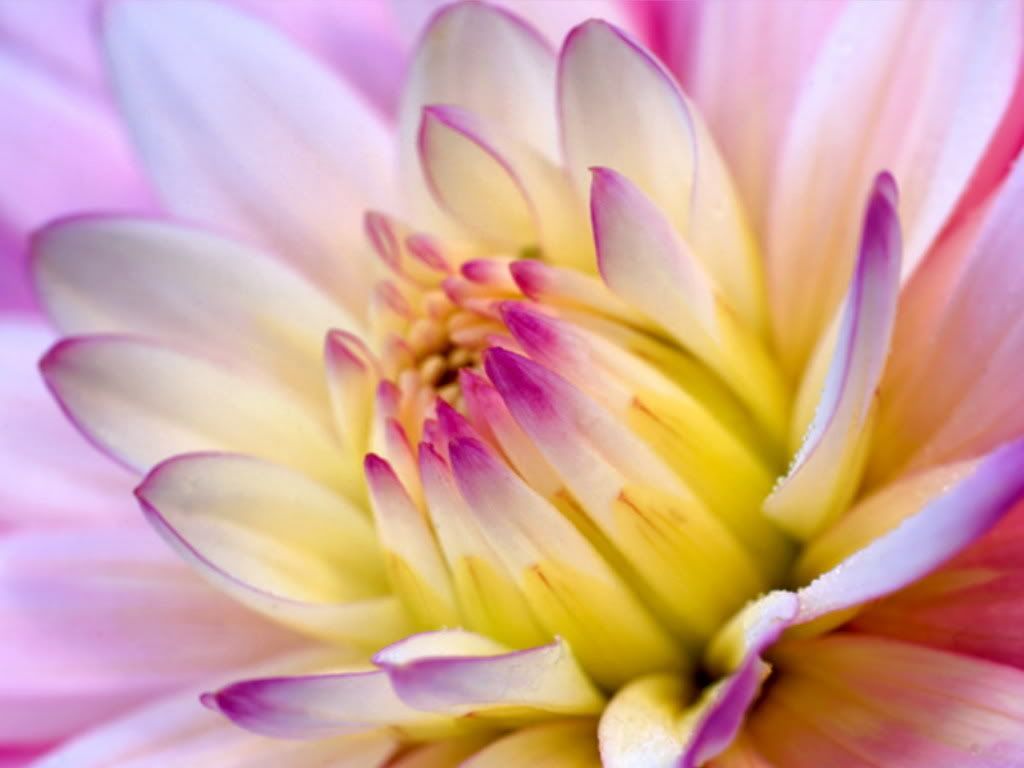
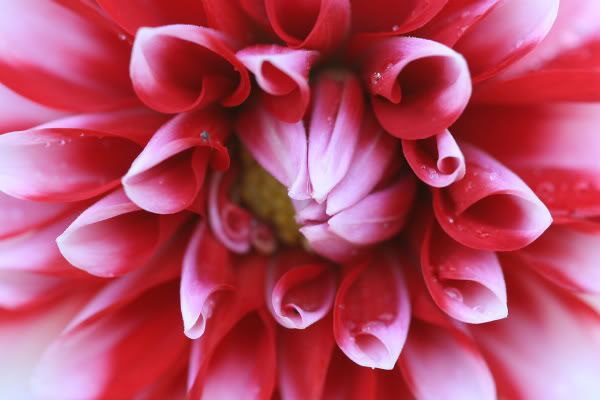
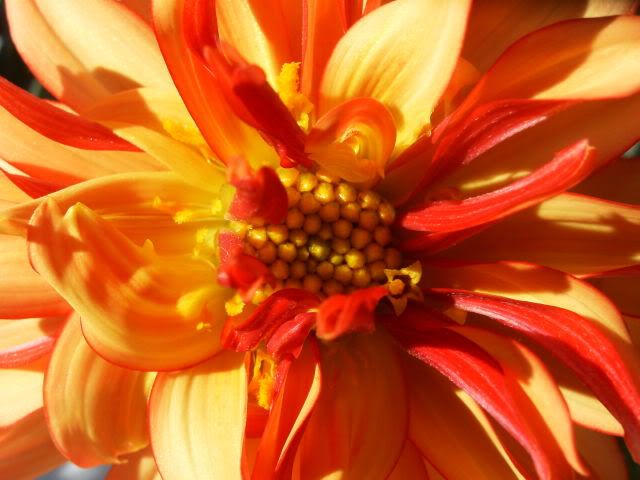
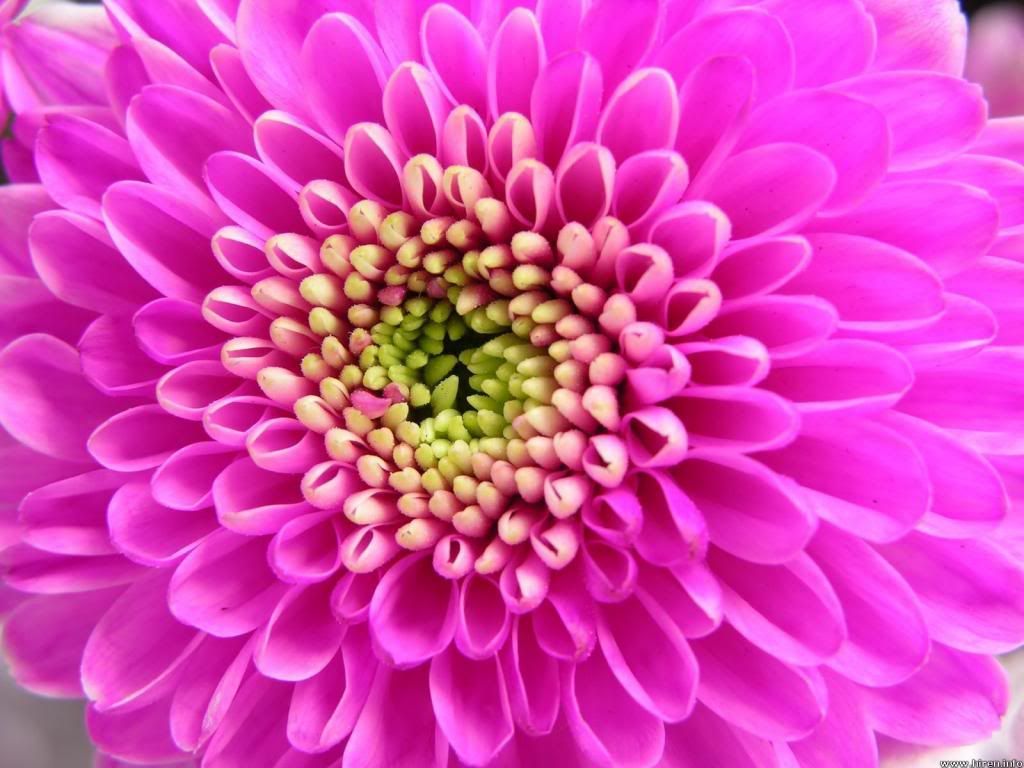
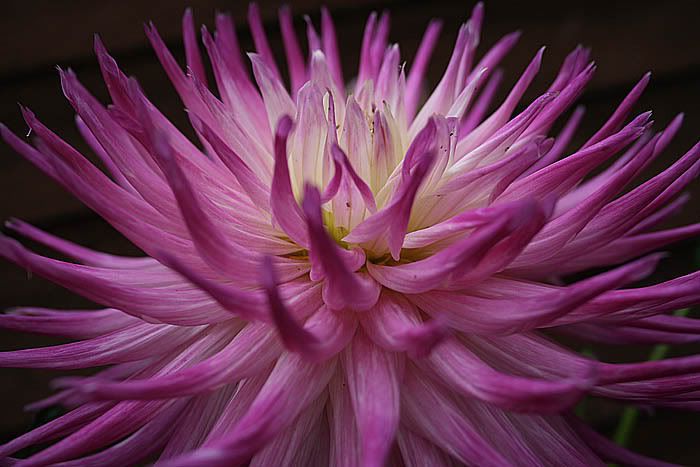
As the photos here show, the magnificence of the modern dahlia is largely a function of its complex petal structure and color variety.  But the original dahlia was much more humble.  Today’s cultivated species originated from a simple Mexican wildflower, so common as to be considered a weed, and with only only eight petals and few colors. 

To understand how this happened, we must go back to Mexico shortly after the end of the Aztec Empire.  The year is 1552.  The place is the heart of Mexico:  Tenochtitlan, or Mexico City. 

For over forty years, the city has been in the hands of the Spanish conquistadores.  The last Aztec dictator, Montezuma, is dead. 

Deep in the Aztec quarter of the city, a school operates for the education and Christianization of Aztec boys.  It is known as the Colegio de Santa Cruz de Tlatelolco.  A young Aztec student named Juannes Badianus has written a botanical treatise on the fundamentals of the very sophisticated Native botanical practice.  When Juannes is finished with the manuscript, it is translated into the Latin by Martinus de la Cruz, another talented Aztec student at the colegio.   

colegio

El Colegio de la Santa Cruz de Tlatelolco

The manuscript these two produce will be known to history as the Badianus Manuscript.  It is the first known compendium of medicinal plants in the New World. 

The manuscript contains a depiction of a simple eight-petaled wild dahlia, below, included in the manuscript because the Aztecs valued these wild flowers for their many medicinal qualities.  Scholars believe the drawing is the species we now know as Dahlia coccinea, one of the many wild Mexican dahlias. 

  badianusmanuscriptdahlia1542

This illustration may be the first recorded example of a wild Mexican dahlia—or any dahlia, for that matter.   Although scholars are not unified in in this belief, what is clear is that this stylized illustration does resemble a wild Mexican dahlia, characterized by its “single flowered” structure—that is, a flat, eight-petaled arrangement.  Almost always, wild dahlias possess this single-flowered structure.

dahlia.jpg dahlia image by vballchic_2211

 1712dahl.jpg Dahlia image by avoca39

 dahliawhite.jpg Dahlia white image by redwood81

It is now almost a hundred years later.  Back in Spain, King Philip II has commissioned a book of medicinal plants from the New World.  It will be authored by the King’s personal physician, Francisco Hernandez.  

This huge work, known as Rerum Medicarum Novae Hispaniae, is even larger and more far-reaching than the Badianus Manuscript.  After many revisions and additions, it is finally published in Rome, many years after its author’s death.   

The Rerun Medicarum contains illustrations of many flowers that will later be called dahlias.  One of them points to a mystery that scholars and scientists today have yet to unravel.  The flower in this illustration is a double variety—that is, having two “layers” of petals. 

Because the known wild dahlias are “single flowered,” with eight petals, and given the long history of dahlia cultivation in Aztec culture, it is presumed that the illustration shows a dahlia that people have cultivated.  But no one knows how or where, or by whom, the cultivation was done.  The other two depictions in the Rerum Medicarum are of single flowers.   

dahlia.jpg Dahlia image by vendettachrncls

DelectableDahlia.jpg Delectable Dahlia image by pholawit_p

It is now over a hundred years later—the late 1700s. 

Jose Antonio Cavanilles is director of the Royal Botanic Gardens in Spain, and a major figure in world botanical circles.  In about 1788 or 1789, Cavanilles receives a shipment of seeds from a Mexican botanical garden.  He plants these and records his findings as they grow.  Among the resulting plants are three that are unusual enough that he later classifies them as a new species.  He calls them “dahlia” after his friend, the Swedish botanist Andreas Dahl.  

The first of Cavanilles’ recorded dahlias appears in 1791.  He names it d. pinnata.  It is a double-headed flower.

"Dahlia pinnata"

Cavanilles’ drawing of Dahlia pinnata, ca. 1791

Later, in 1796, he records two others, d. rosea and d. coccinea.  Both are single-headed.

 Cavanilles’ drawing of Dahlia coccinea, ca. 1796.  

Once again, a double-headed dahlia is recorded in Europe but not attributed to cultivators in Mexico.   Because of the scarcity of double-headed dahlias in nature, it is generally presumed that Cavanilles’ seeds came from cultivated plants.  But from where?  And—cultivated by whom? 

By 1800, there is widespread interest in Europe for plants of the New World.  In 1802 Cavanilles sends dahlia seeds to the Paris Museum of Natural History, and elsewhere in Europe.   Each successive sowing shows the species’ remarkable variability, bringing new colors and shapes.

In Berlin, dahlias are mistakenly re-classified as a different species for a fourth edition of Linnaeus’ Species Plantarum. This “new” species is named Georgina.  Thus, the plant is known both as Georgina and Dahlia for many years before the duplication of naming was discovered and corrected.  In some parts of Eastern Europe, “georgina” is still used to name a garden dahlia. 

dahlia.jpg Dahlia image by cheddarchick

 Yellow_Dahlia.jpg flower image by Angellin16

 red_white_dahlia_macro_SM4281.jpg dahlia image by Scarlet_Mongoose

 Dahlia21.jpg Dahlia image by threeleven311

 lovender-dahlia-2a1024x768.jpg Fuscia Dahlia image by lolitvalle52

 dahlia.jpg My Dahlia image by gameangler

By 1934, over 14,000 dahlia cultivars are recognized.  Much of the work of developing these strains has occurred in England, and history has obscured the Mexican heritage of this most popular garden flower.

In particular, the question has remained unanswered of whether the first “double” dahlias were cultivated or occurred in the wild. 

Today, the dahlia is the national flower of Mexico, and the presumed original species, dahlia coccinea, grows wild on the mountainsides as it did many hundreds of years ago.  

dahlia

 Wild D. coccinea

Reading List: 

The Dahlia, An Early History from Harvard University’s Arnold Arboretum

Stanford Dahlia Project

All Rights Reserved, The Blue Kimono, 2011. 

Unless otherwise marked, photographs come from www.photobucket.com, and you can find their titles and artists by scrolling over the images. Other unmarked photos are in the public domain.

Friday, February 24, 2012

DIY Cardigan from Crewneck Sweater!

 eco friendly sweater tutorial tutorial for refashioned sweater  
Do you love the idea of DIY projects but are afraid to start?  Here’s a super-fast, no-sew project for the nervous refashionista.  We’ll create a customized cardi from a second hand pullover, incorporating flattering design elements. 

If you’re in need of the tools for the craft I have some promotional codes for Target here. 

Materials

  • felted crewneck or collared pullover sweater
  • sharp scissors
  • pins
  • measuring tape   
  • Kilt pin, available at fabric stores

The sweater must be tightly “fulled” (also called felted) so the cut edges won’t ravel.  If your sweater isn’t felted, here’s how to do it. 
Start with a wool sweater that’s at least two sizes too big.   
One-hundred percent wool is best, but blends with at least 80-90% wool are also good.  Pure cashmere does not felt well.  Pure merino can shrink up to 50%.  A lovely blend is merino/cashmere/angora 60/20/20. 


Machine-wash sweater in hot water/cold rinse.  Check halfway through for size and felting.  The fabric is felted enough when a tiny scissors-cut on a hidden seam leaves an edge that doesn’t ravel—scratch with your fingernail to test.  If the fabric isn’t felted enough, wash it again or dry it on high.  (This process is inexact, and you may end up with a sweater that’s too small.  If so, think “hotpads” or “dog bed.”) 


Also, if you’re going to be felting very many sweaters, get a filter for the end of your washing machine hose to capture lint.
Dry the sweater flat.  When it’s dry, put it on a person or lay flat on a large surface.  Midge the Mannequin is standing in for me.


 Step 1: Cut Front


My sweater has a clear central pattern to follow, but you can also find the center with a measuring tape:  measure across the front, underarm to underarm, and mark the center with a pin.  Do the same on the bottom hem. 


Following your central pattern (as I did), or using your pins as guides, carefully cut straight up the middle front.  If your cut edges are ragged, you can neaten them up later.  
felted wool cardi tutorial
The sweater will now look like this (put a cami on, Midge!): 
felted wool sweater cardi tutorial 
Step 2: Cut Neckline

This step makes the finished piece look neater.  If you’re using a collared sweater, this step will remove the collar. 

Trim away neckband, staying close to the seam that attaches the neckband to the sweater.  If you want a wider neck opening, trim away more, being careful to be even all the way around.
bolero tutorial 025
Here’s the finished neckline:
how to refashion a crewneck into a cardi
You could also cut a wide v-neck, like this: 
recycled sweater tutorial
 Step 3: Cut Hemline

This process is similar to shaping the neckline.  You’re going to remove any banding or ribbing at the bottom, and shorten the sweater if you want.  You can even take off several inches and make this into a cropped look. 

Just make sure you cut evenly all around.  Either carefully freehand it as I did, or use your measuring tape and pins to measure up 1”, 2”, 3” or whatever amount you’d like to remove.  I recommend shortening a little at first and increasing it as you go, trying on the sweater after each increment.   

Design note:  Hems that end three inches above or below the widest point of the hips are generally the most flattering. 

Next, trim the corners of the front opening to make a rounded edge.  You can freehand this, or cut around a teacup or other small circular item.
upcycled sweater tutorial
I removed the hem binding, and about 1” more all around. 

Step 4: Trim Cuffs

I like sleeves that are the same length as, or shorter than, the sweater’s hem.  I took off about an inch of the cuffs here. 

Removing the cuffs also makes the entire design consistent, since now all the ribbing has been removed from the sweater. 

Design note:  Three-quarter length sleeves are flattering because they elongate the line of the arm.
recycled sweater tutorial 
Step 5: Get Closure!

I love that the easiest way to close this sweater is also the most versatile.  Using an oversized safety pin called a kilt pin, you can close the sweater at the neck, bust, under-bust, or lower, depending on what you’re wearing under it.  You can find kilt pins at fabric stores.  Walmart has some very inexpensive ones. 

This way of pinning is my favorite:   
sweater refashion tutorial
Design note:  by nipping under the bust, you can create emphasis where the torso is slimmest on many women.  This would also be cute belted. 

Enjoy…!

sallymandy……….

Technorati Tags: ,

photos by B.Behan, all rights reserved.  If you like cute vintage clothes and altered vintage clothing, please check out my collection at Chronologie Vintage


Thanks to Imogen at Inside Out Style for sharing many of these design elements.

Thursday, February 23, 2012

Vintage and Thrifted Clothes: Solving Common Problems

what to do about stinks and stains
Does this sound familiar?  

You find a fab vintage or thrift-store dress and bring it happily home…..only to find later that you also bought somebody’s vintage body odor.  
   
Eeew!  Talk about a buzz-kill.  Second on the list of gross smells is old cigarette smoke.  

Or you find yellowed pit stains, or mystery spots on the skirt—problems you didn’t notice at the store, in the thrill of discovery.    

Stink and Stain are two common problems with thrifted or vintage clothes.  But they don’t have to rain on your parade.  With three simple products, you can eliminate nearly all these problems at home.  These are:  table salt, Oxyclean or Biz Stain Remover, and powdered dishwasher detergent.
 
NOTE:  Before trying these, please see “Read This First” at bottom. 

Treating Body Odor and other Stinks

Body odor can be removed with a concoction of hot water and salt.

Fill your sink or a giant stockpot half-full with hot water, which will be needed to dissolve the salt.  Dissolve about 1/2 cup regular ol’ table salt (dirt cheap is fine) with a spoon, and fill up the rest of the pot or sink with cold water.  

You now have some lukewarm salty water. 

Plop in your dress, and leave it there for 24 hours, or at least overnight.  Rinse out the salty water very well and hang your dress up to dry.  The smell should be gone.  If it’s not, try the same treatment again. 

Vintage body odor often reveals itself when heat is applied to the dress armpit.  If the dress seems to smell fine after washing, but you want to know for sure, try ironing the pits and sniff them.  This is the true test.

For cigarette smoke, try machine or hand washing your garment with a cup of white vinegar in the water.  If this doesn’t get the smell out, try the salt treatment. 

Treating Pit Stains and Mystery Spots

For this problem, I use a method that’s strong enough to remove old baby formula stains—notoriously hard to get out.  I can vouch that it works on baby formula, armpit stains, and almost everything else. 

This works best on cottons and rayons, which also seem to catch pit stains the most.  Before trying this treatment, though, please see Read This First below. 

Moving right along.  Fill up your sink or big stockpot half full with hot water.  Dissolve in this:  1/4 cup *each* Oxyclean or Biz powder, and powdered dishwasher detergent (I use Cascade).  Try to dissolve 
all the little crystal-y pieces.  You need this hot water initially to dissolve them. 

Fill up the sink/pot the rest of the way with water to result in the hottest water your garment can stand.  Plop ‘er in, and swirl it around.  

Sometimes, general stains come out in a couple hours, but pit stains usually take longer.  If you’re concerned about your dress spending too much time in this detergent bath, check it every few hours to see how it’s coming.  At the end of 24 hours, or when the stains are gone, wash everything out.  

You’ll probably have a completely stain free dress that’s so clean you could serve the Pope on it.  Not that you’d want to.  

For lots of clean vintage clothes with no stains or vintage body odor, check out my collection at Chronologie Vintage.  Thanks for visiting!

Love,
sallymandy
*Read This First!  Vintage clothing can be delicate, and these treatments – especially the stain treatment -- *MAY* damage certain fabrics.   
The rule of thumb in all vintage cleaning it to try the gentlest method first.  You should only try these treatments if regular washing hasn’t gotten rid of the stinks and stains.  My logic is, if it stinks or has deal-breaking stains anyway, are you going to wear it?  Maybe you can afford the risk. 
Salt is relatively harmless, but the OxyClean/Dishwashing Detergent formula can fade and/or weaken delicate fabrics, in rare cases.  That said, I have used both these methods successfully on hundreds of garments.  I rely on them for my vintage clothes shop and my own vintage clothing. 

Saturday, February 18, 2012

Vintage Dresses Inspired by Zooey Deschanel


Here's a collection of vintage dresses inspired by the style of Zooey Deschanel.
You can click on the photos to learn more about each one.

Happy Spring!

Tuesday, February 14, 2012

The Price of Vintage Clothing

image

Vintage Sailor Dress from the 1970s, Chronologie Vintage, $70.

Sometimes vintage sellers are asked why their wares cost so much.  After all, vintage clothes aren’t brand new. 

The answer is that each piece of clothing comes with a lot of hidden benefits.  If you buy from a reputable online seller, here’s some of what you pay for with your purchase. 

1. Time spent finding real vintage items.  Most selling venues have requirements for what qualifies as vintage.  On Etsy, it’s 20 years; on Market Publique, it’s 10.   Ebay has no requirement—anything can be sold as “vintage.”

Even when a venue has requirements, the rules are notoriously hard to enforce.  The result is that much of what's sold online as "vintage" is not actually vintage--it’s just used, or it’s reproductions of vintage.  That's why, if you care about authenticity, you must be careful who you buy from. 

Reputable sellers are committed to researching brands, labels, construction, and other factors to date items accurately. This takes time, and lots and lots of digging through trash to find the treasures.  Two of the resources I rely on for dating my items are www.vintagefashionguild.org and this book by Melody Fortier:   

image 

2. Quality.  In addition to being old, real vintage pieces need to be worth saving.  Authentic vintage is better quality than most clothes made today—often having better fit, better fabrics, and more creative designs.  Some of the fabrics used in vintage clothing are simply too expensive to produce now and are no longer available. 

For instance, vintage cashmere will never pill and lasts forever.  You can’t say that about most of the cashmere produced today unless you’re willing to spend many hundreds of dollars. 

Quality vintage pieces cost more for the seller to acquire than throw-away second-hand clothes, but they’re worth it.  

3. Cleaning. With the exception of leather and some dry-clean-only coats, a reputable seller will clean everything she or he sells.  For my shop, I wash/handwash/press every item using eco-friendly products whenever possible and the most gentle methods I can.

Good sellers will also tell you how to take care of your new item so you get the longest possible use out of it.

4. Repairing/mending. Many vintage clothes have buttons loose or missing, small tears in hems, or other minor issues.  Reputable sellers disclose exact conditions of every item.  It is my policy to fix everything I can in addition to disclosing condition.    

5. Photographing and styling. One of the great advantages to buying online is convenience. From the comfort of your home, you can browse clothes on a mannequin or person, often with some styling ideas, and detailed photos of construction, fabric, and condition.

Photography for selling is an art in itself, and most sellers invest in good cameras and lighting. Models cost money. But good presentation helps the buyer know what s/he’s getting, and how s/he might use the piece. 

Check out these photos of a cute vintage sweater vest for sale in my shop.  How much better does it look in the second photo?!

cute vintage clothes novelty print vest 2   cute hipster clothes 80s sweater vest

6. Measurements. Reputable sellers will give you exact measurements of the garment, preferably in inches and metric.  Vintage sizes are often smaller than today's sizes, so you really need these numbers for proper fit.  Of course, it takes more time to provide this information, but it’s worth it if you’re more likely to get a perfect fit the first time. 

7.  Guarantees.  In my opinion, a good seller will always offer a return policy.  This costs the seller money in time and re-stocking,  but it’s really necessary to a good shopping experience.   

So...to sum up, when you buy a piece of clothing from a reputable seller, you're buying a value-added garment, complete with the assurance that it's truly vintage. You're also getting the ease of having it land on your doorstep in ready-to-wear condition, and great customer service.  

I hope this has helped explain pricing of vintage clothes from many shops, including my own, Chronologie Vintage

Love,

sallymandy